Friday, 24 January 2014

The Dinosaur jumper

 
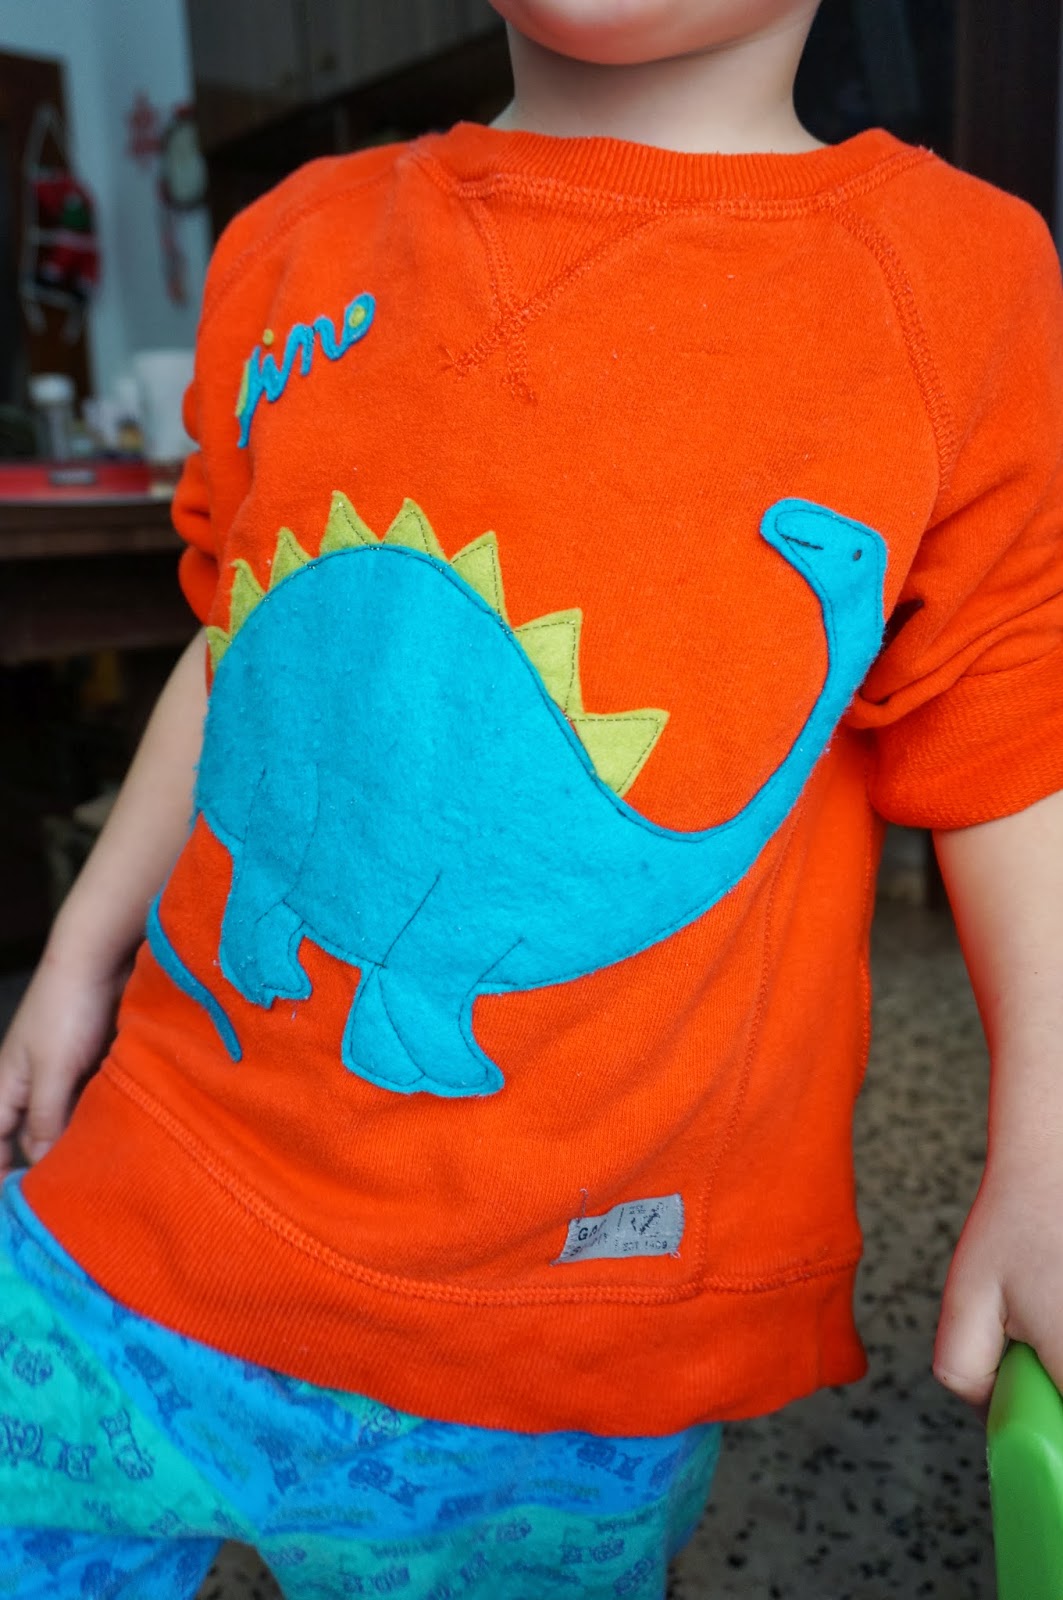
In one of my previous posts I have mentioned that I had to draw a dinosaur for a project. The so called "project" was my funny attempt to hide a few stains on my son's jumper. Everyone would agree that stains on kids clothes is something quite normal. I also agree that, but in my case there were a few important points:
1. I quite liked that jumper
2. The jumper had been worn just a couple of times
3. He was going to be able to wear it only at home
4. The jumper was large enough to fit him for an year ahead, which was leading to number
5. Apparently I had to see these stains every time he wore that jumper for a whole year

that is how the jumper looked before the makeover

Someone might think that this is the most important jumper in the world, after having written so much about it. All I wanted to do was just to explain why I had to applique that dinosaur on it.
Now you would probably ask "Why a dinosaur?". My boy had several books, featuring dinosaurs, so I thought I could easily trace or draw one of them. Amazingly when we started flipping through the pages none of them seemed to me attractive enough to be sewn on the jumper.


The funny thing was that my son liked the first dinosaur he saw and declared that he wanted that one. But with his body shape, it definitely wouldn't have been able to fulfil its purpose of hiding all the stains, plus it wasn't good-looking. And I certainly couldn't tell him "No, you can't have this, I don't like it" so I had to find a way to trick him out of it. I told him that the dinosaur in question didn't fancy orange colour, that's why he couldn't go on his orange jumper, but mummy would draw one that truly loved orange colour. That's how I ended up drawing a dinosaur.


 I took the body of one dinosaur, used the head of another, added some spikes and here it was. Not too bad, I think. And what was more important, my boy liked it.
For the applique I used felt. It is so easy to work with it. The only downside of felt is that after washing small bobbles (is that how they are called actually?) form on it.
So do you like the new look of the jumper or you think it's too bright?

 
If you like my dinosaur, feel free to use it for your own projects. Just click on the image below and save it on your computer, resize it if necessary and print it.

Sunday, 19 January 2014

Craft time: rosettes and cupcake paper flowers

Let me show you what I have been up to yesterday. I made a little break from sewing and crafted these paper blooms.


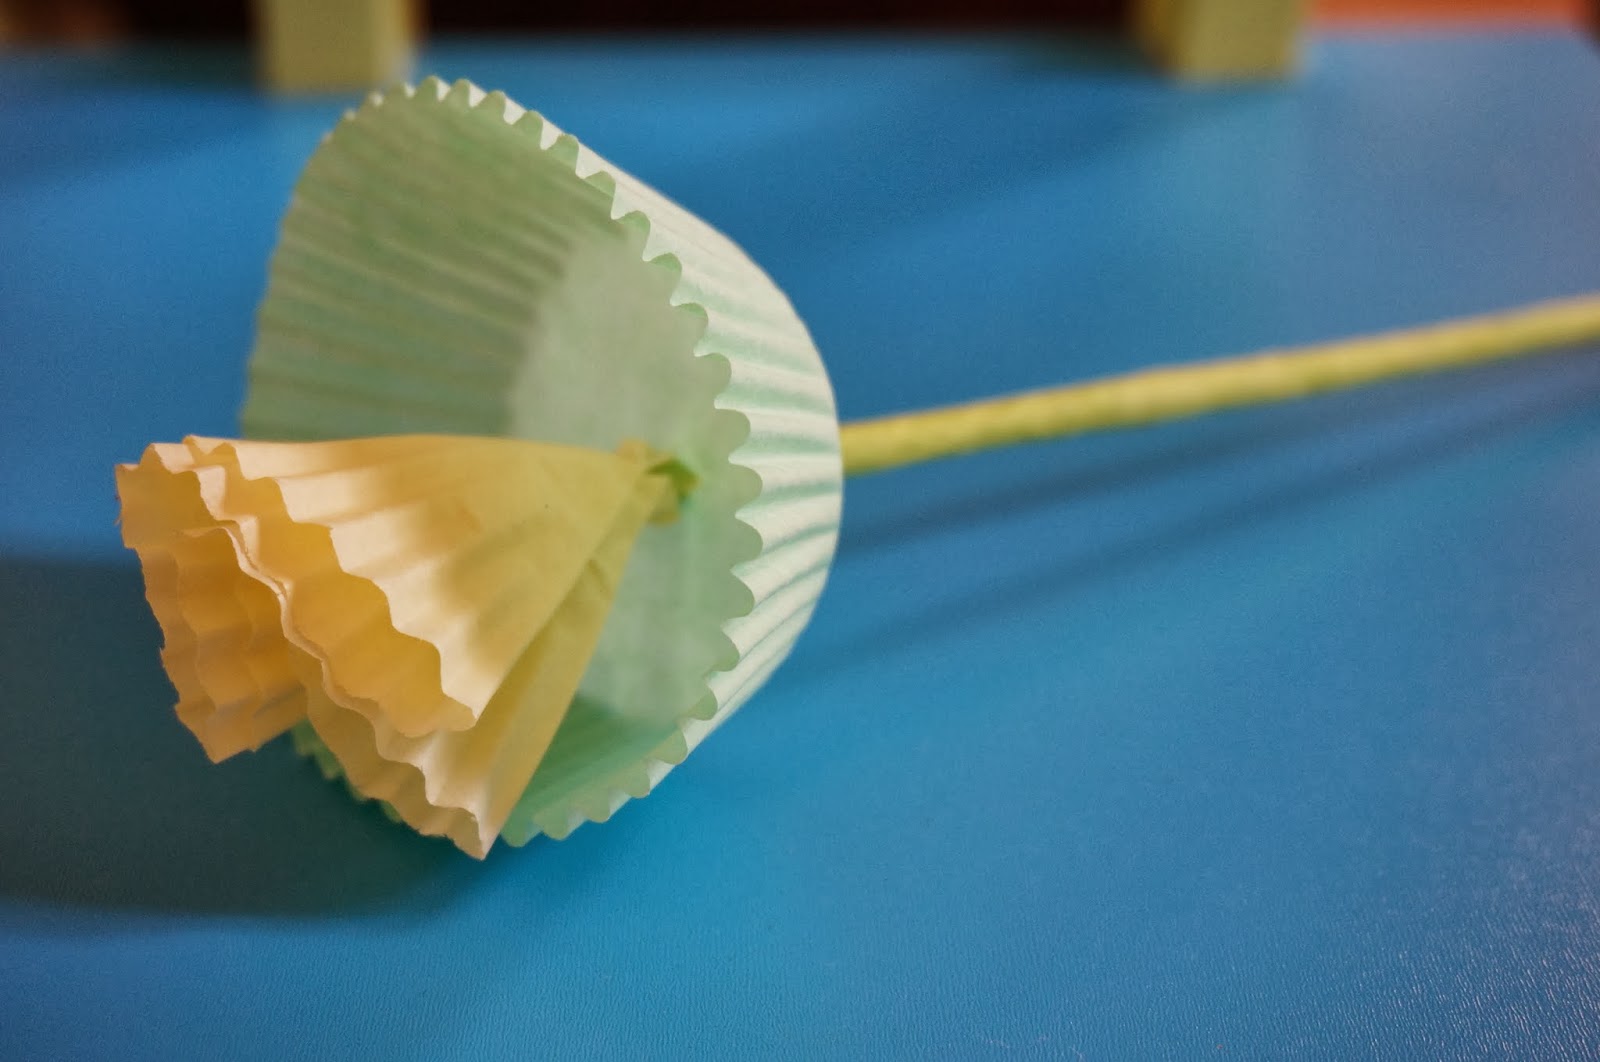
As we were having three lovely little guests coming on Saturday, I thought why not brighten the room a little bit. And believe me these cupcake paper flowers really brighten it up. I am not a fan of artificial flowers but I just love these ones. I first spotted them on Martha Stewart's website and planned to make them someday.


I also made some rosettes, which are just so easy to make that when my little boy asked me to draw another snowflake for him to cut out (that was probably the hundredth snowflake that I had to draw this winter, as he was still so fascinated by the way they turned out when unfolded) I decided to show him how to make a rosette. So me and my enthusiastic little helper made one, then another, then another one till we had as many as these.


All this crafting activity of mine provoked my husband's comment "Well, apparently some people here have too much spare time". The funny thing about it is that I keep complaining every now and then that I am so short of time and there are so many things to be done in the house, and at the same time I am found sitting on the floor in the living room making paper flowers. For someone, who doesn't take sewing and crafting quite seriosly, it probably looks as a total waste of time. But for me it is simly a way of living.
As I have already mentioned both flowers and rosettes are so simple to make that in no time you will find yourself making a whole bunch of them. If you fancy making some but you are not sure how to start, here is a step by step photo guide


And now the rosettes


Happy crafting!


Thursday, 16 January 2014

"Helicopter" cushion


"Mummy, sew me a helicopter", that's what my little son told me when I asked him what he wanted to have on his cushion.


To be honest I was quite relieved that he chose a helicopter. And I would have been equally relieved if he wanted a plane, or a ship or any vehicle. Just not planets, the Moon or a spacecraft.
I was terrified he was going to ask for them, as for some time he has been very interested in them, asking a lot of questions and often looking at them in his book of the Solar system.
I couldn't imagine how I was going to make the planets with some bright felt. Undoubtedly these would have been the most ridiculous, funny and unrecognizable planets, you have seen.
For the cushion itself I used soft polyester fabric, originally from a blanket I had bought from IKEA two years ago. I had bought a white blanket and a red one to use in my sewing projects rather than as blankets. They were quite reasonably priced at about 3.50 £ each, which came cheaper if you had to buy the fabric from a fabric shop.


I have almost used the whole white blanket making the helicopter cushion and a kind of blanket for the buggy. With the small piece of white fabric left, I was thinking to make baby shoes or booties for my little girl, but as she is growing, she wouldn't need such any more so I have to take these off my 'To do' list.
Now the Helicopter cushion proudly sits on my son's bed. Somehow it feels great knowing that something that I have done with so much love for him sleeps next to him.


If you fancy the helicopter applique, please feel free to use the template below. All you have to do is just click on the photo, save it, resize it if necessary and print it.


Thursday, 9 January 2014

Pearl beads and lovely new fabric on my shelf


Just a quick post to share with you my latest additions to both my fabric stash and embellishment collection.
Firstly I bought some pearl beads. A few days ago I came upon a beautiful dress from Heidi and Finn that was embellished with pearl beads and I liked the idea. So when I saw them in a shop I decided to buy some. I still don't know when or where I am going to use them but I reckoned that it would be useful to have them in case I need them one day, hopefully sooner.


I also found that sometimes when I look through my fabrics, buttons or embellishments, ideas pop into my mind. You can actually find a lot of inspiration just by looking at them.


My second purchase was this piece of fabric. It is cotton and doesn't have much drape. And the pattern is lovely. I plan to use it for making a feminine blouse or tunic for my little cupcake. I still haven't decided on the design, though. I keep changing my mind all the time. I won't be able to start it before next week anyway, so still have time to think.
It would be a busy weekend for me. We are going back to UK, so there will be lots of packing and unpacking over the next few days.

Monday, 6 January 2014

"Pretty flowers" footmuff/blanket for the buggy


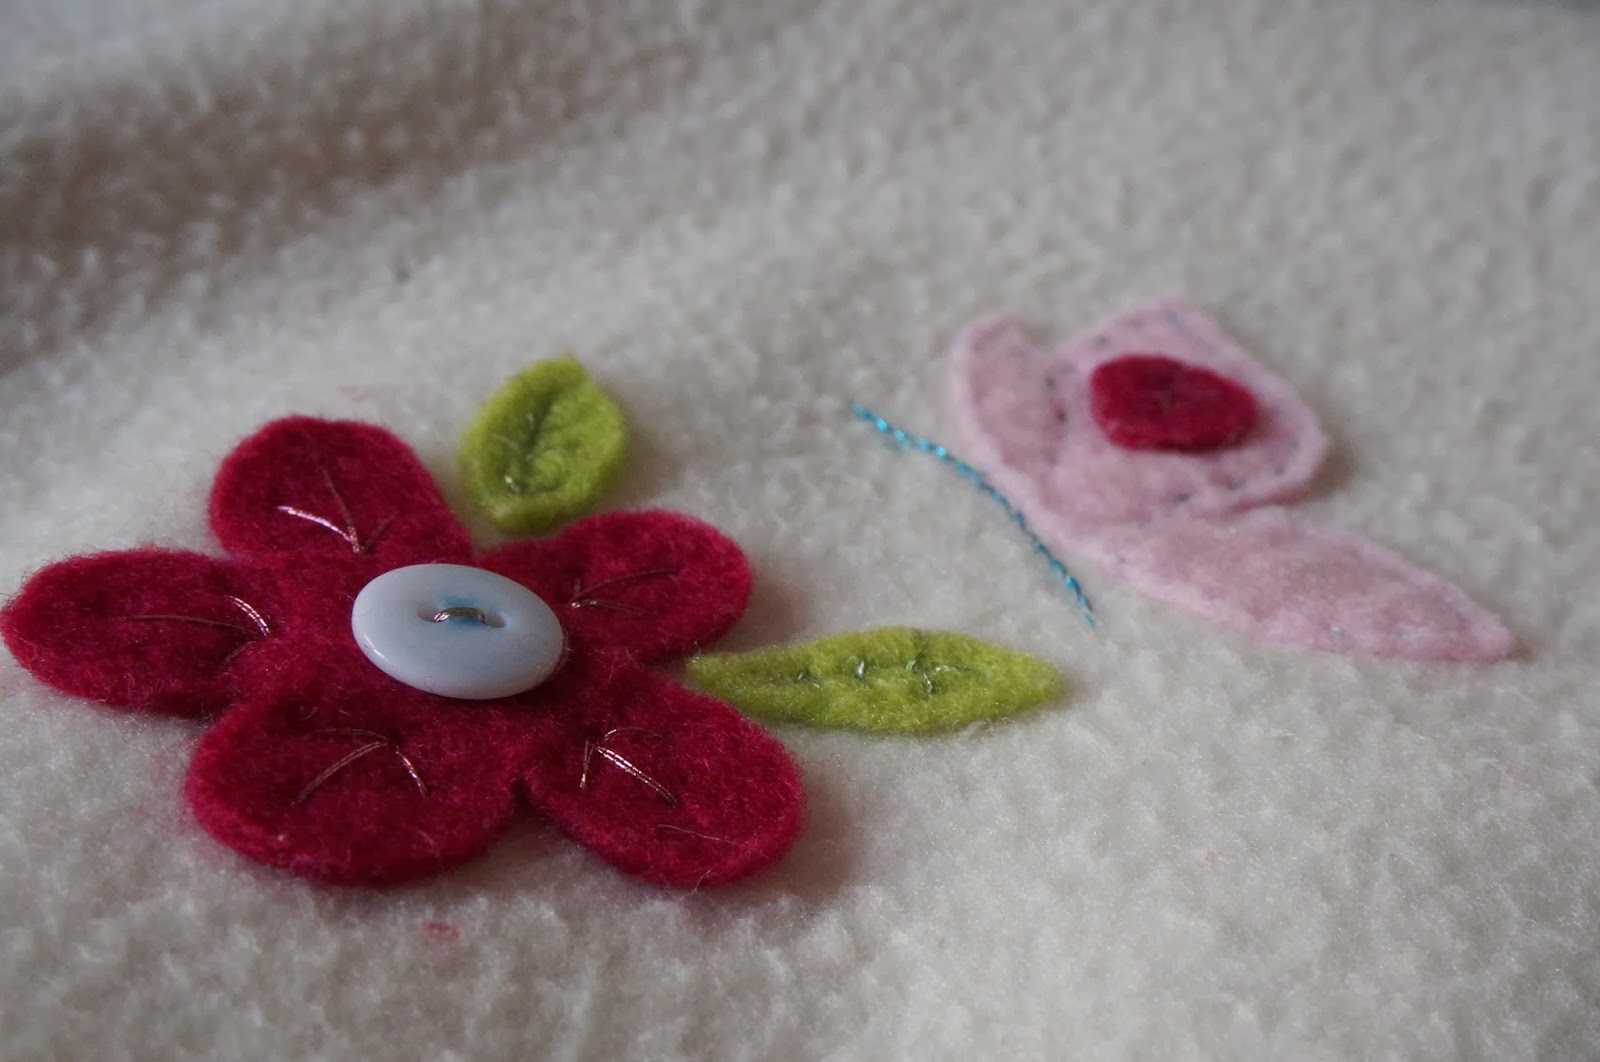
When my little girl was three months old and the spring was knocking on the door I decided to make her a kind of springtime footmuff for the buggy. It was not thick and warm like the winter ones but it was great for a warmer weather. I thought that if I used a blanket it would probably land on the ground every two minutes and by the end of the walk it would be all dirty. So I decided to make one that couldn't be kicked and thrown out of the buggy. So this was the result.


It is so easy to sew and decorate something for a girl - just add a few random flowers or butterflies and it already looks pretty. With boys, it's a different story. You have to come up with something else like cars, trains, ships, pirates and etc. In my case I had to draw a helicopter for one project and a dinosaur for another. I will write about them in my next posts. For me personally sewing for a girl leaves me with more ideas than sewing for a boy.


And talking about girlish things, let me show you a photo, I took a few days ago in a shop (I had to do it secretly because I wasn't sure the staff would be happy with that).


It is a vintage-looking car with flowers. It looks so girlish and sweet. I think that would make a great applique on a girl's top. If I manage to draw it nicely, of course. I am putting this on my ever growing "To-do" list. There are so many things I wish to do and such a lack of time.
I like to snap things with the camera while wandering through the streets with the buggy. I usually snap things that I would like to try to make or somehow reproduce in my projects. But not always. Sometimes I just take photos of things that I would definitely not make but which inspire me somehow.
And by the way, looking at that car now I find it more and more attractive. I start wondering if i should go and buy it. It would make a nice addition to my kid's bedroom.At 20 € it's not very cheap. I still got some time to think.

Friday, 3 January 2014

Some adorable fabrics

To say that I am a fabrics addict would be an exaggeration, but the truth is that I do love fabrics. I love looking at them, playing with them and imagining what could I turn them into.
I came across ADORNit Nested Owls fabric range by chance. You can see images from that range throughout the post.


I was admiring the lovely items on display in a small shop called San&Sab, in which the owners were sewing everything in there. And with the current boom of online shops, it is such a pleasure to be in a brick-and-mortar fabric shop, where to be able to touch and feel the fabrics. I could stay there for hours, and maybe I would if I wasn't starting feeling a bit uncomfortable .
Unfortunately I don't have such shops near to where I live and often have to browse fabrics on the internet. A few times I have been disappointed when the fabric arrives and it turns out to be too stiff or not the right shade.


Anyway in that little colourful shop I noticed some scrap fabrics,which they didn't sell. Later I searched for them on the internet and found the complete Nested Owls range. And I am in love with it. For my great delight ADORNit ships to United Kingdom and I am looking forward to ordering some.


There are some lovely ribbons, too.

And have you bought something recently that you feel quite excited about?

Wednesday, 1 January 2014

My handmade tablet case


Hooray!  I finally managed to make something for myself. I don't actually remember when was the last time I actually sew something for myself ( I am not counting the lace I sew to a dress to lengthen it this summer).
In fact the main reason to make that case was because I was going to travel and needed something to protect and store my tablet. And why should I buy one when I could sew it? Well, it doesn't fold into a practical stand or have corner protection like the bought ones, but has another invaluable feature - it is bespoke. I have always thought that bespoke things are much more interesting and charming.
I would probably have been able to make it folding into a stand, if I had more time. Anyway, I like it the way it is.


I have realized that choosing the fabrics for a project sometimes takes up quite a lot of time. That's what happened with this case. I played with the fabric, trying to figure out which two would make the perfect combination.


From my previous experience I could tell that sometimes even when you are sure that the chosen fabric(s) would be perfect for a project, when you finish it , you feel somehow disappointed when you look at it. So to avoid disappointment I prefer to allow more time on choosing the right fabric.
At first I intended to make the case with elastic strap to keep the tablet secure, but after mentioning that to a friend, she suggested to use sticker tape, which made things much easier for me.


I encourage my little son to make things and craft. He enjoys crafting but as long as we do it together. I usually let him choose which colours to use, which often results in something quite mismatching but even then he gets lots of praise. Here is what he did for his sister's first birthday. He was so impatient to show her the card that I had to persuade him to make another one to show her today.

A birthday card

we wrapped up together some presents and he decorated them

Hama beads circle